Drilling, Milling and Grinding
Stably Realize Drilling, Milling and Grinding of Complex Shape Parts with Hardness Over HRC50
Applications
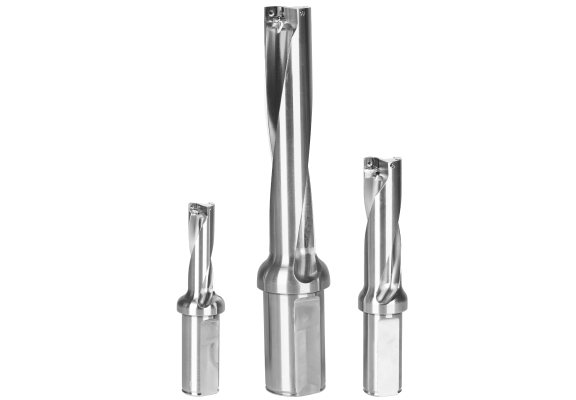
U Drill Body
+ The accuracy of blade positioning surface is ± 0.0004 in.;
+ After installing the cutter, the gap at the bottom of the blade is < 0.0004 in.;
+ Radial runout of tool rotation center relative to shank diameter < 0.0008 in.
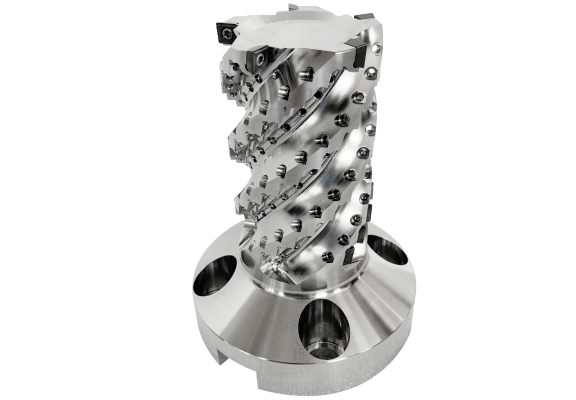
Helical Milling Cutter Body
+ The machining of all features of 5 spiral grooves and 75 blade grooves, including 75 thread holes, 75 water holes and 150 countersunk head holes, was completed in one clamping;
+ Roughness of blade groove Ra<0.2μm, accuracy of positioning surface of blade groove is ± 0.0004 in..
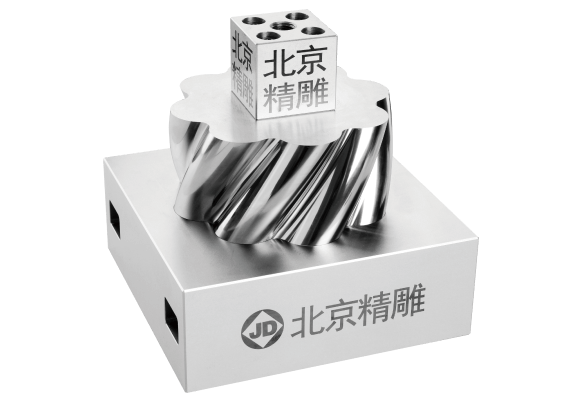
Spiral Fit Test Piece
+ R3 ball-end cutter continuous finishing for 20h and the tool wear is less than 3.5μm;
+ Fitting clearance is less than 8μm, can lift 220.5 lb. non-magnetic steel material for 90s;
+ Concave parts and convex parts can fit interchangeably among multiple sets.
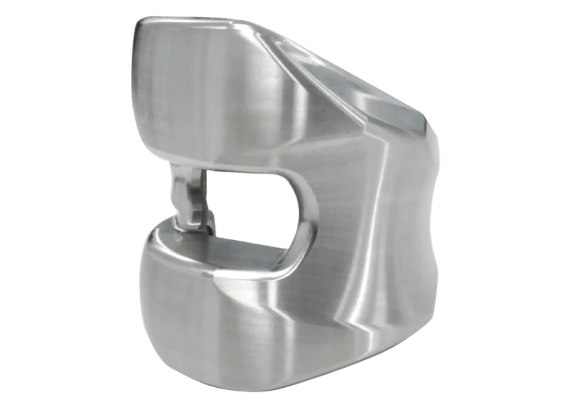
Femoral Condyle Prosthesis
+ Use JINGDIAO 5-axis high-speed machining center milling and grinding, the cycle time is less than 45 min;
+ The joint surface is finished in one grinding, and the surface roughness Ra<0.6μm.

U Drill Body
+ The accuracy of blade positioning surface is ± 0.0004 in.;
+ After installing the cutter, the gap at the bottom of the blade is < 0.0004 in.;
+ Radial runout of tool rotation center relative to shank diameter < 0.0008 in.

Helical Milling Cutter Body
+ The machining of all features of 5 spiral grooves and 75 blade grooves, including 75 thread holes, 75 water holes and 150 countersunk head holes, was completed in one clamping;
+ Roughness of blade groove Ra<0.2μm, accuracy of positioning surface of blade groove is ± 0.0004 in.

Spiral Fit Test Piece
+ R3 ball-end cutter continuous finishing for 20h and the tool wear is less than 3.5μm;
+ Fitting clearance is less than 8μm, can lift 220.5 lb. non-magnetic steel material for 90s;
+ Concave parts and convex parts can fit interchangeably among multiple sets.

Femoral Condyle Prosthesis
+ Use JINGDIAO 5-axis high-speed machining center milling and grinding, the cycle time is less than 45 min;
+ The joint surface is finished in one grinding, and the surface roughness Ra<0.6μm.
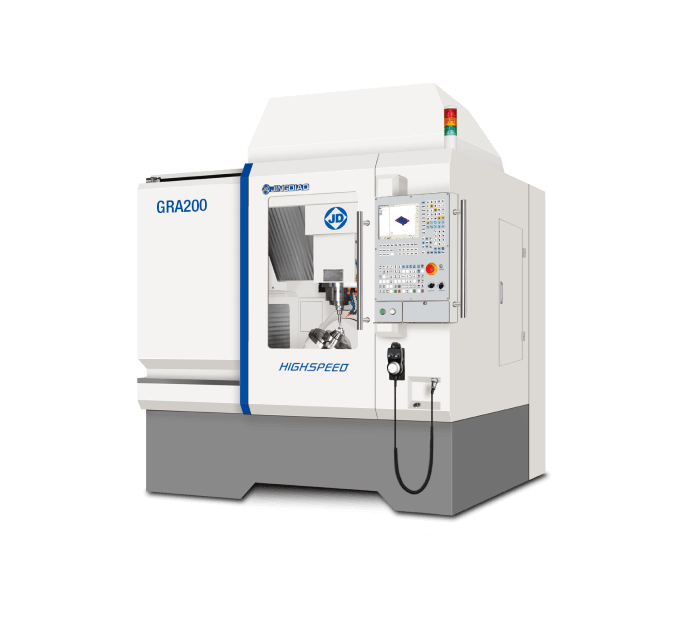
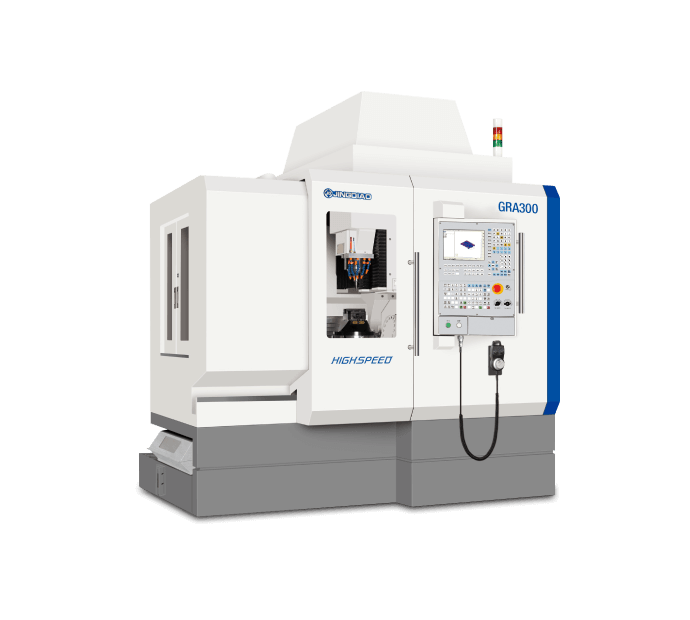
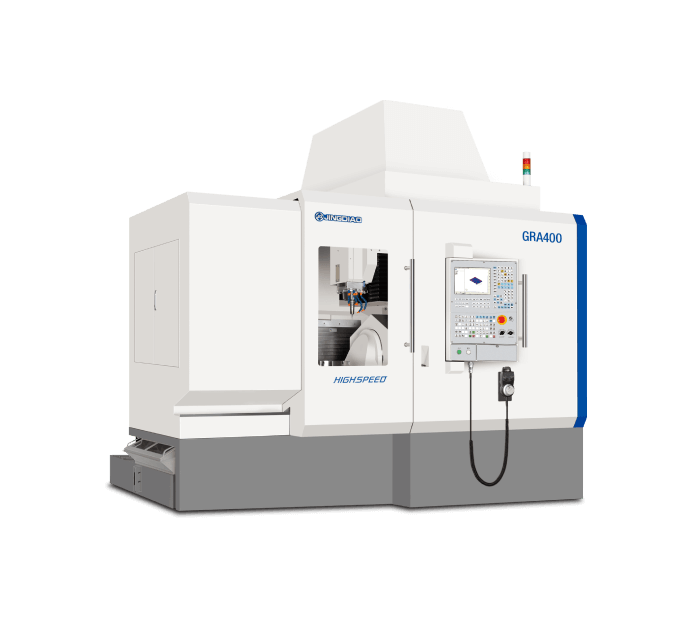
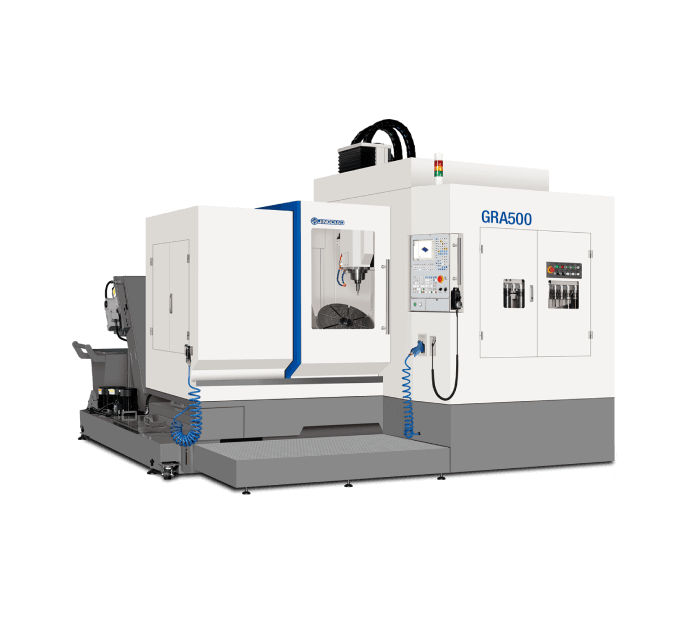
Select the Appropriate Machine Tool According to the Shape and the Size of Parts
Because of the complex shape with lots of surface and negative angles, 5-axis machine tools must be used when drilling, milling and grinding complex-shape hard materials (over HRC50) with an accuracy of 5-10 μm. During which grinding is the key process, therefore, it is very important to choose a 5-axis machine tool with high basic accuracy, good stability and key components.
Key Configuration
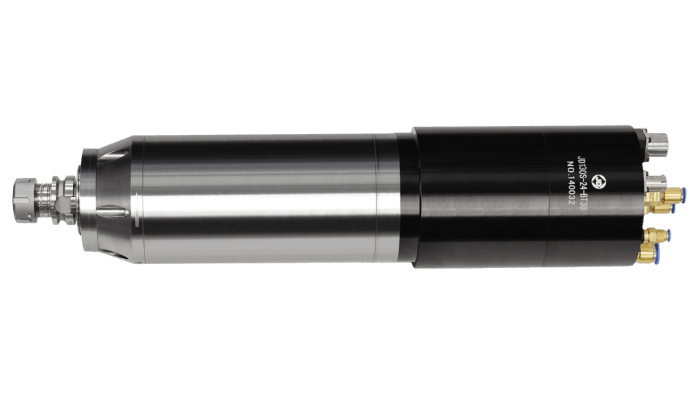
JD130S-24-BT30 High-speed Precision Spindle
With low vibration and good thermal stability, it can realize long time stable precision grinding.

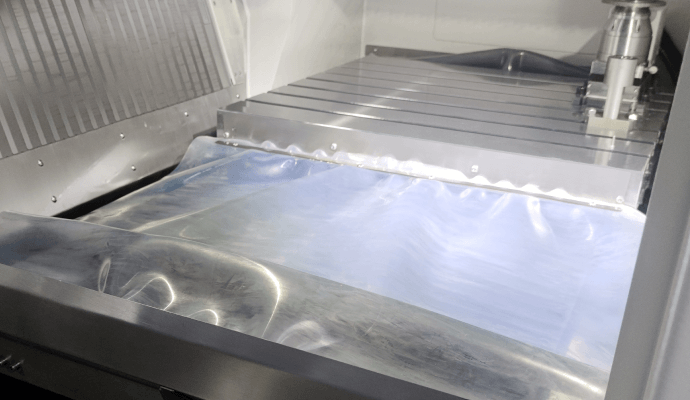
Grinding Protection System Protects Key Parts of Machine Tool
Prevent the grinding chips from entering the inner of machine tool, reduce the wear of the rail and screw, and ensure the accuracy of the machine tool.

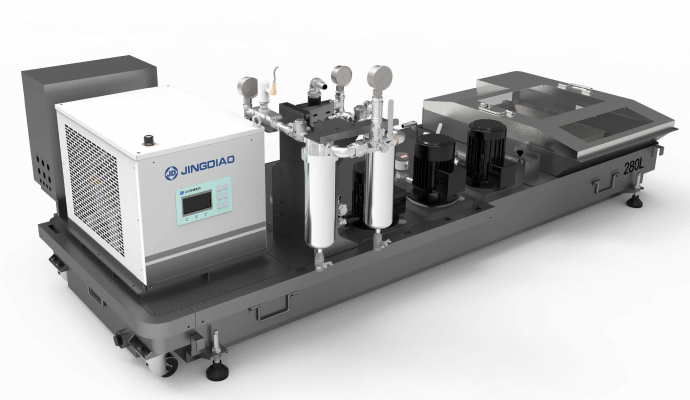
High Precision Grinding Filtration System
Adopting 4-stage filtration, and the filtration accuracy is 25μm.

The Grinding Wheel Trimming System Helps Maintain the Grinding Capability.
After working for a long time, the grinding wheel will be clogged or abrasive passivated, which will lead to the decrease of grinding capability. In order to improve the grinding capability, the grinding wheel trimming system can trim on-line.

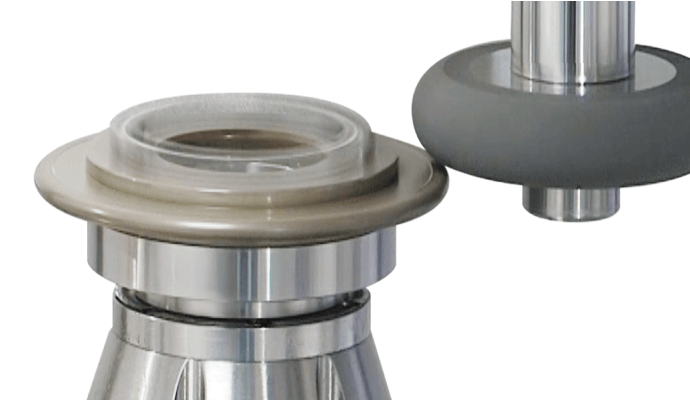
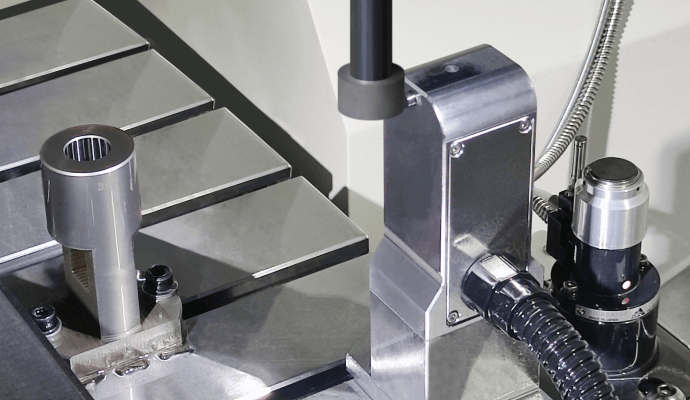
The Automatic Measuring Device of Grinding Wheel Diameter Replaces the Manual Tool Set and Obtains the Actual Diameter of the Grinding Wheel.
The diameter of the grinding wheel needs to be measured for the first use, and using this device can reduce the probability of overcutting and scratching the side wall of hole. After trimmed, using this device can reduce the manual measurement error.

JINGDIAO Proven Precision Machining Solutions
Grinding is the key process in drilling, milling and grinding complex metal parts. The main tool used in grinding is grinding wheel, its actual size and the wear in machining are not easy to quantify. However, it will directly affect the precision of the parts.
JINGDIAO solution for this kind of parts can achieve dimensional accuracy of 5~10μm. This is because JINGDIAO high-speed machining centers are equipped with on-machine inspection system, which can automatically measure the actual size and the wear amount of the grinding wheel. This process doesn’t need manual operation and can effectively ensure the continuity of machining.


