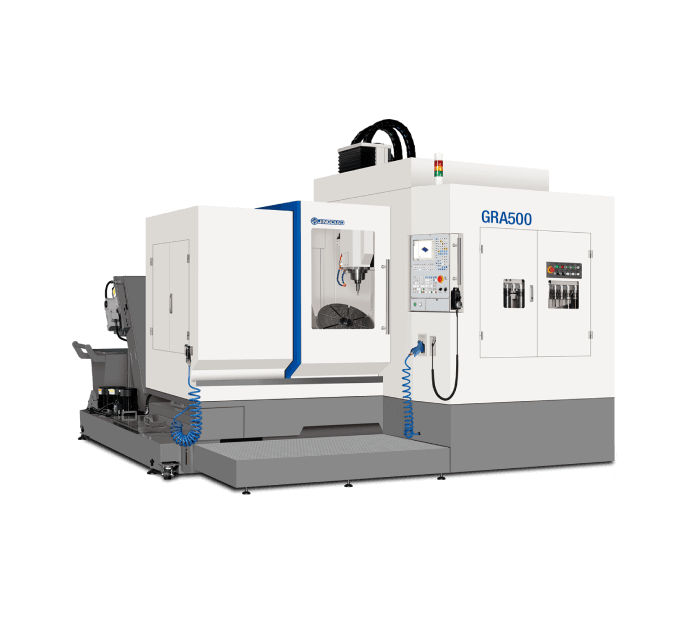
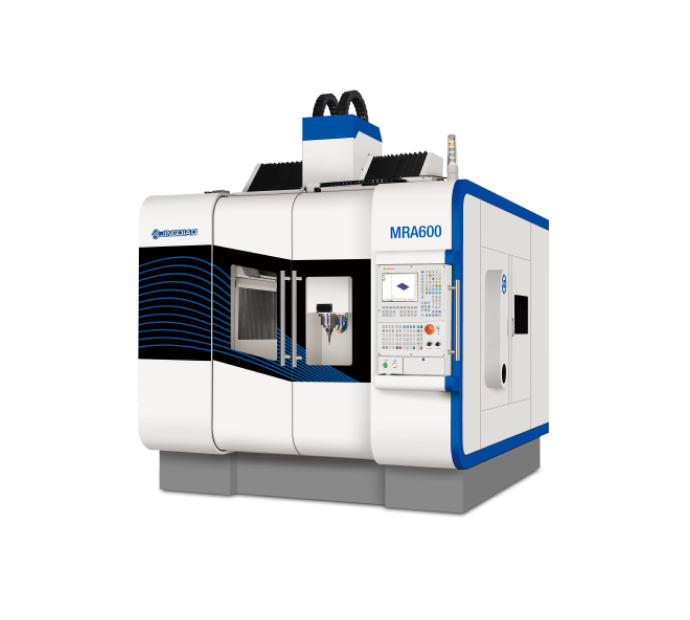
Mold Parts Milling
Stable Milling Mold Parts with an Accuracy of 2~15μm Eliminates Molding in Mold Assembly
Applications
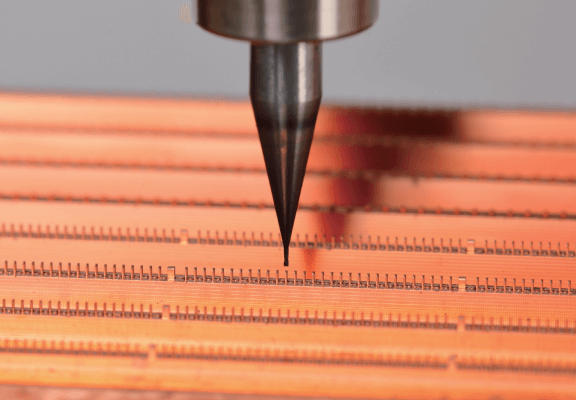
Connector Mold Electrode
+ Machining with D0.3mm and R0.15mm tools;
+ The tolerance deviation of 2000 small columns is within ± 5μm, and the dimensional consistency is 5μm;
+ The distance deviation between two adjacent small columns is within ± 2μm;
+ The burrs are less than 3μm.
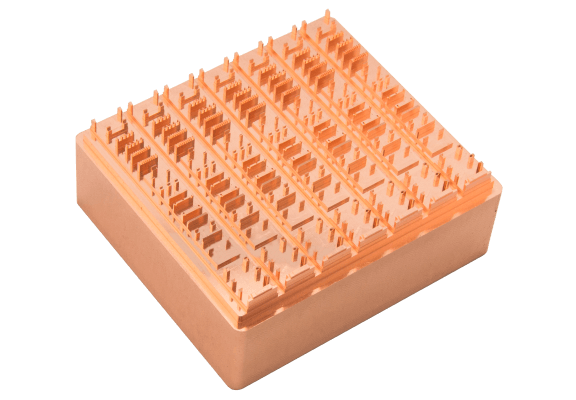
Connector Mold Electrode
+ Using D0.3mm small tool for processing;
+ The tolerance deviation of 200 small columns is within ± 5μm, and the dimensional consistency is 5μm;
+ The distance deviation between two adjacent small columns is within ± 2μm;
+ The burrs are less than 3μm.
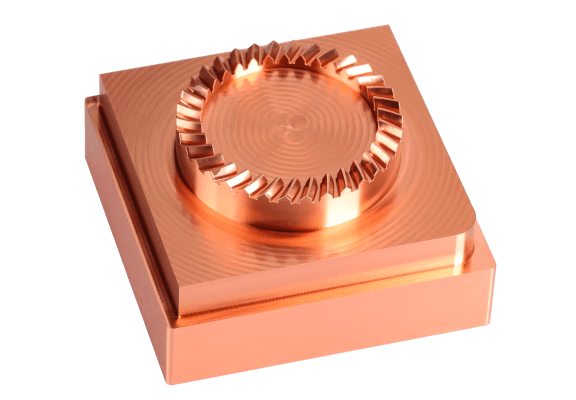
Gear Mold Electrode
+ Machining with R0.2mm tool;
+ The tolerance deviation of 34 tooth surfaces is within ± 5μm;
+ The tooth surfaces don’t have any witness mark.
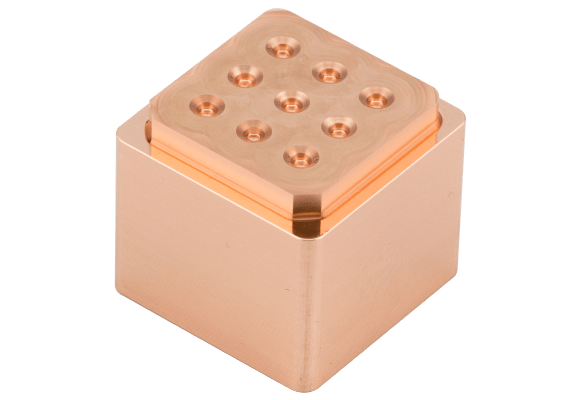
Camera Mold Electrode
+ R0.5mm tool is used in finishing;
+ The tolerance deviation of 9 grooves is within ± 5μm and the dimensional consistency is 5μm;
+ Surface roughness Ra < 100nm, no tool marks can be seen after magnified 30 times.
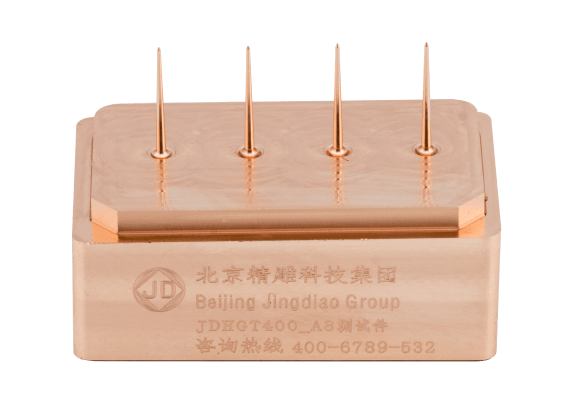
Needle Column Electrode
+ 4 small columns, the minimum diameter is 0.2mm, and the height is 14mm;
+ The tolerance deviation of each column is within ± 5μm and the dimensional consistency is 5μm;
+ Surface roughness Ra < 150nm.
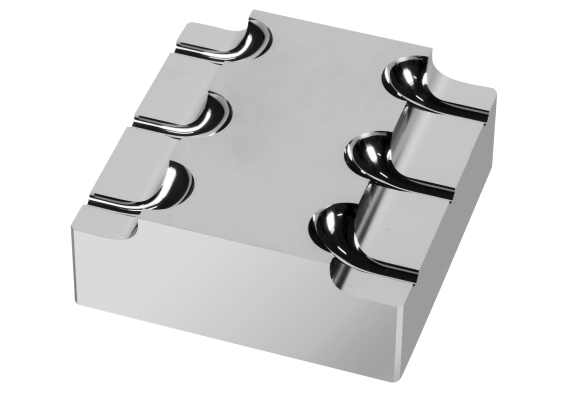
Six-Position Earphone Mold Test Piece
+ R1mm PCD tool continuous polishing for more than 19h;
+ The remaining stock range of all positions is 0.01 mm;
+ Single position roughness Sa ≤ 20 nm.
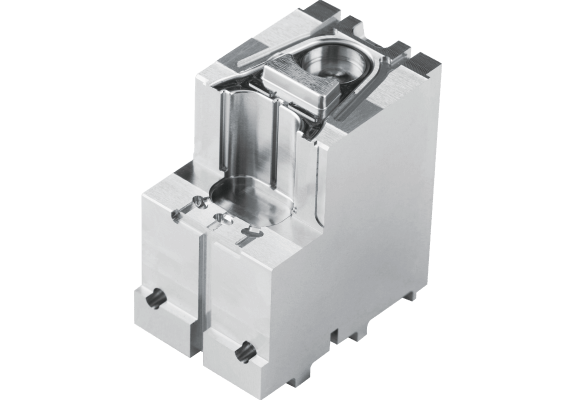
Small Precision Plastic Mold Insert
+ Multi-face machining, the shape error accuracy is micron level;
+ The minimum circular angle of right side wall is R0.3mm;
+ Small tool milling replaces EDM.
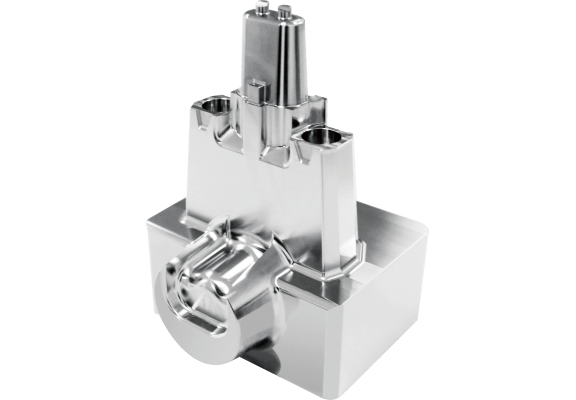
Mold Inserts for Automobile Braking Four Loop Shell
+ Surface dimensional accuracy within ±10μm;
+ The surface tool mark has good consistency, and the surface roughness Ra ≤ 0.2μm.
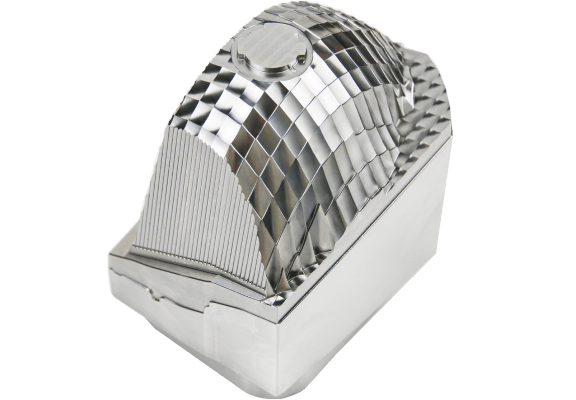
Automobile Lamp Mold Part
+ Surface dimensional accuracy is ±10μm;
+ The surface tool mark has good consistency, and the surface roughness Ra ≤ 0.3μm.
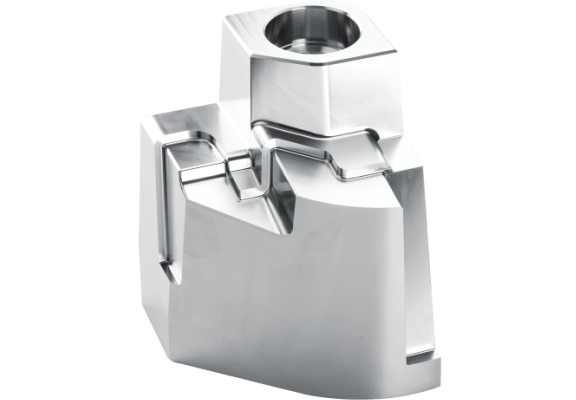
Automobile Door Mold Insert
+ Using tools: D21R0.8, D6R3, D4R2, D2R1, etc.;
+ The workpiece position alignment is completed within 1 minute by using JINGDIAO on-machine inspection system;
+ The surface witness mark is less than 5μm.
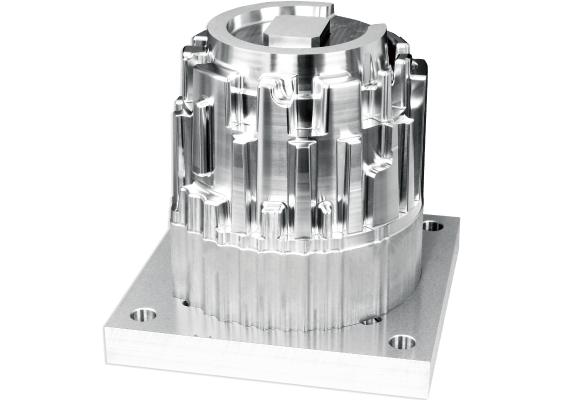
Automobile Engine Cylinder Mold Insert
+ Using tools: D21R0.8, D6R3, D3R1.5, D1.5R0.75;
+ The range of remaining stock is 15μm;
+ The surface texture is uniform, and the surface roughness Ra < 0.2μm;
+ The surface witness mark is less than 5μm.
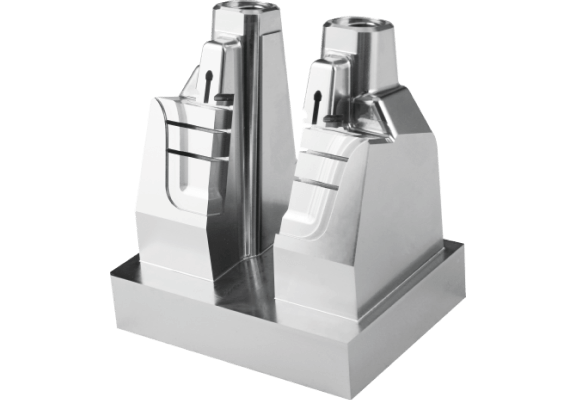
Automobile Door Mold Insert
+ Using tools: D21R0.8, D8R0.5, D6R0.5, D1R0.5, etc.;
+ The surface roughness Ra0.12-0.3μm;
+ The surface witness mark is less than 5μm.
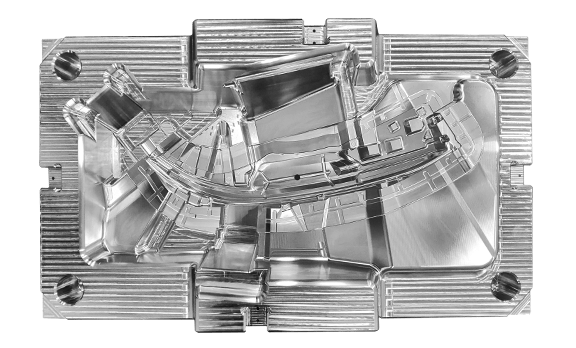
Large Automobile Mold Part
+ On machine inspection technology detects the machining allowance of the surface to improve the one-time success rate of molding;
+ Assembly dimensional accuracy is ±15μm;
+ The surface roughness Ra < 0.3μm.
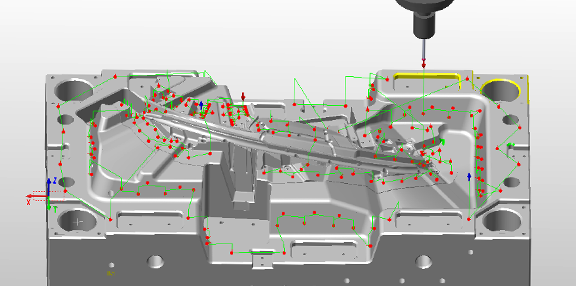
1
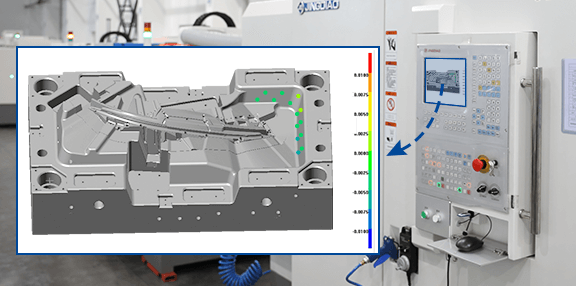
Inspect Before Machining to Determine the State of the Workpiece
2
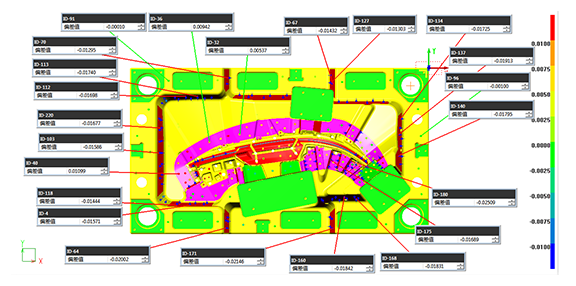
Inspect After Machining to Ensure the Mold is Qualified When Unloading
3
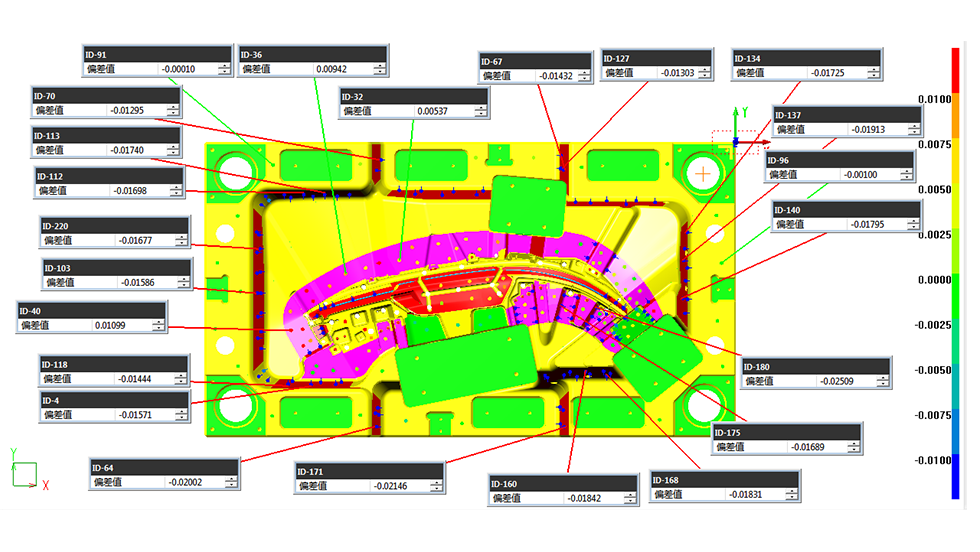

In-Process Inspection, Analysis of Error, and Timely Correction
4
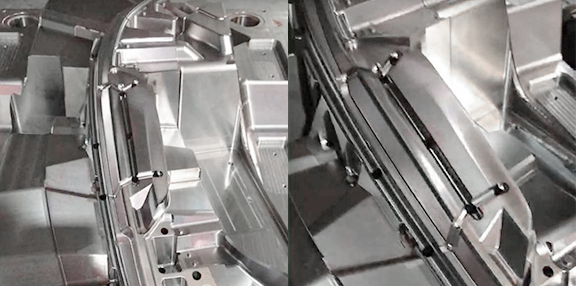
Achieve One-Time Success in Molding

Connector Mold Electrode
+ Machining with D0.3mm and R0.15mm tools;
+ The tolerance deviation of 2000 small columns is within ± 5μm, and the dimensional consistency is 5μm;
+ The distance deviation between two adjacent small columns is within ± 2μm;
+ The burrs are less than 3μm.

Connector Mold Electrode
+ Using D0.3mm small tool for processing;
+ The tolerance deviation of 200 small columns is within ± 5μm, and the dimensional consistency is 5μm;
+ The distance deviation between two adjacent small columns is within ± 2μm;
+ The burrs are less than 3μm.

Gear Mold Electrode
+ Machining with R0.2mm tool;
+ The tolerance deviation of 34 tooth surfaces is within ± 5μm;
+ The tooth surfaces don’t have any witness mark.

Camera Mold Electrode
+ R0.5mm tool is used in finishing;
+ The tolerance deviation of 9 grooves is within ± 5μm and the dimensional consistency is 5μm;
+ Surface roughness Ra < 100nm, no tool marks can be seen after magnified 30 times.

Needle Column Electrode
+ 4 small columns, the minimum diameter is 0.2mm, and the height is 14mm;
+ The tolerance deviation of each column is within ± 5μm and the dimensional consistency is 5μm;
+ Surface roughness Ra < 150nm.

Six-Position Earphone Mold Test Piece
+ R1mm PCD tool continuous polishing for more than 19h;
+ The remaining stock range of all positions is 0.01 mm;
+ Single position roughness Sa ≤ 20 nm.

Small Precision Plastic Mold Insert
+ Multi-face machining, the shape error accuracy is micron level;
+ The minimum circular angle of right side wall is R0.3mm;
+ Small tool milling replaces EDM.

Mold Inserts for Automobile Braking Four Loop Shell
+ Surface dimensional accuracy within ±10μm;
+ The surface tool mark has good consistency, and the surface roughness Ra ≤ 0.2μm.

Automobile Lamp Mold Part
+ Surface dimensional accuracy is ±10μm;
+ The surface tool mark has good consistency, and the surface roughness Ra ≤ 0.3μm.

Automobile Door Mold Insert
+ Using tools: D21R0.8, D6R3, D4R2, D2R1, etc.;
+ The workpiece position alignment is completed within 1 minute by using JINGDIAO on-machine inspection system;
+ The surface witness mark is less than 5μm.

Automobile Engine Cylinder Mold Insert
+ Using tools: D21R0.8, D6R3, D3R1.5, D1.5R0.75;
+ The range of remaining stock is 15μm;
+ The surface texture is uniform, and the surface roughness Ra < 0.2μm;
+ The surface witness mark is less than 5μm.

Automobile Door Mold Insert
+ Using tools: D21R0.8, D8R0.5, D6R0.5, D1R0.5, etc.;
+ The surface roughness Ra0.12-0.3μm;
+ The surface witness mark is less than 5μm.

Large Automobile Mold Part
+ On machine inspection technology detects the machining allowance of the surface to improve the one-time success rate of molding;
+ Assembly dimensional accuracy is ±15μm;
+ The surface roughness Ra < 0.3μm.

1
Inspect Before Machining to Determine the State of the Workpiece

2
Inspect After Machining to Ensure the Mold is Qualified When Unloading

3


In-Process Inspection, Analysis of Error, and Timely Correction

4
Achieve One-Time Success in Molding
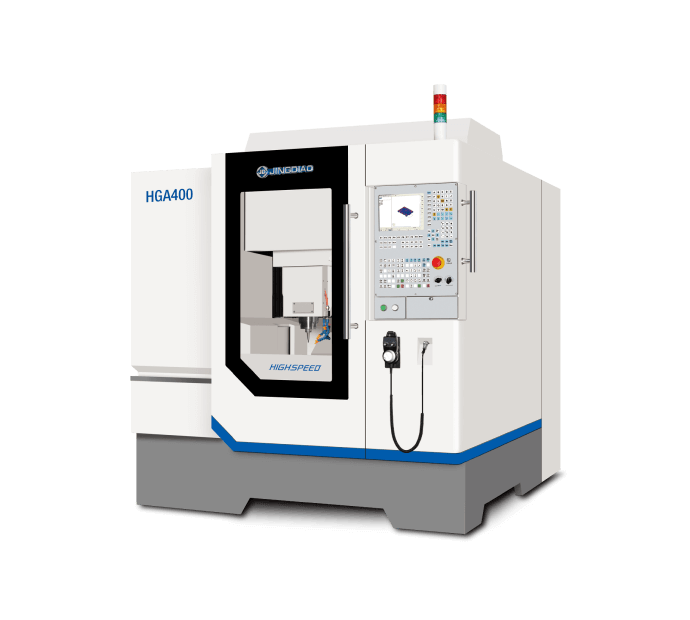
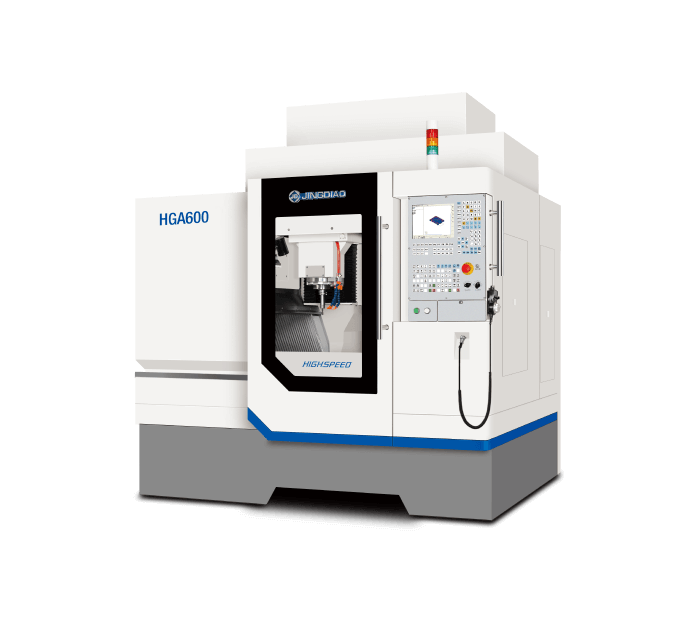
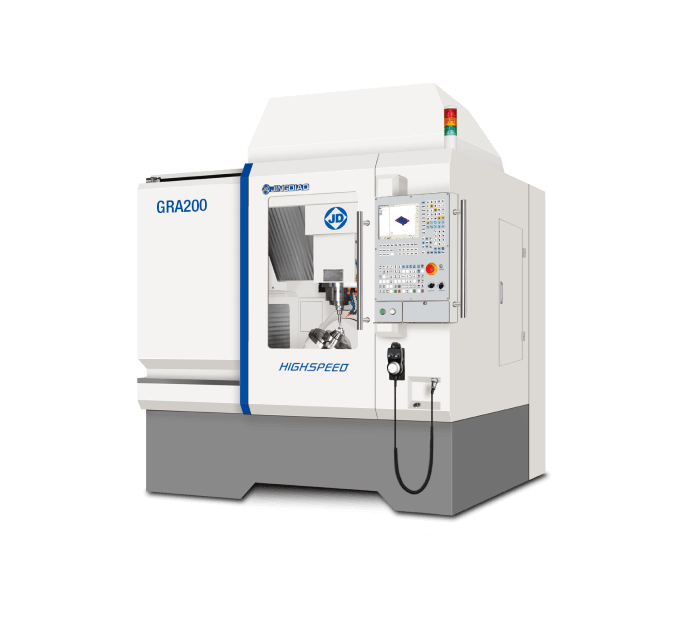
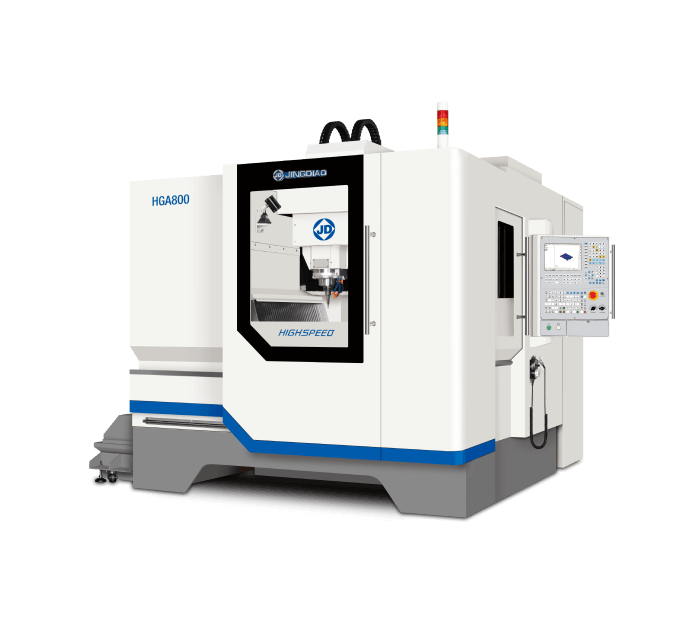
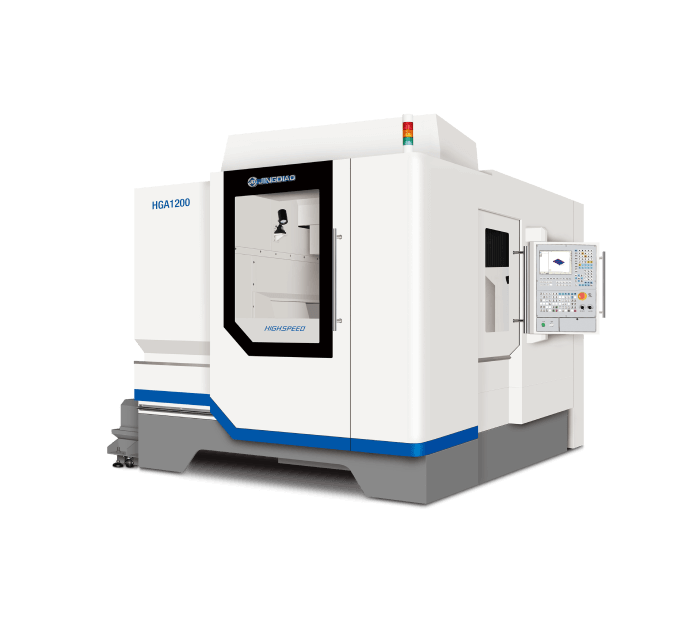
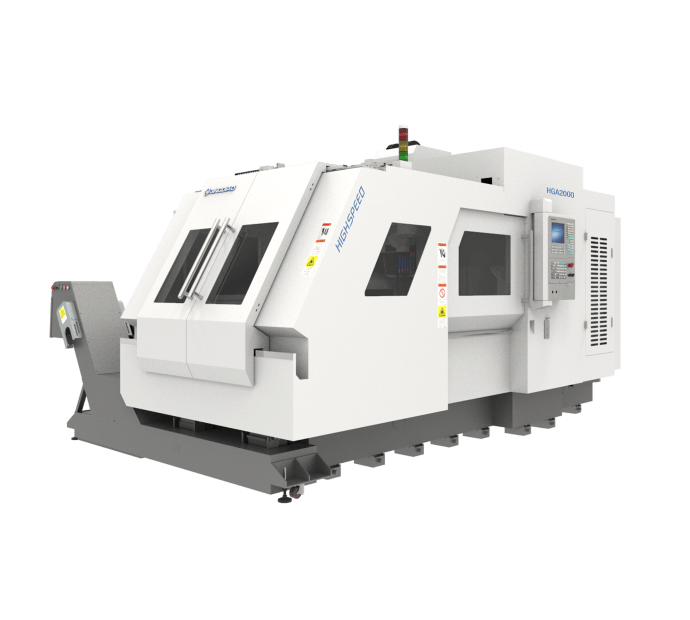
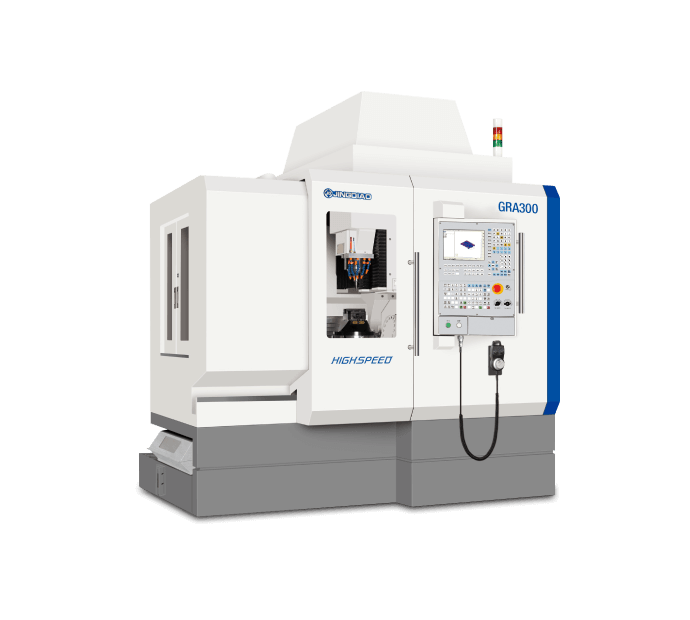
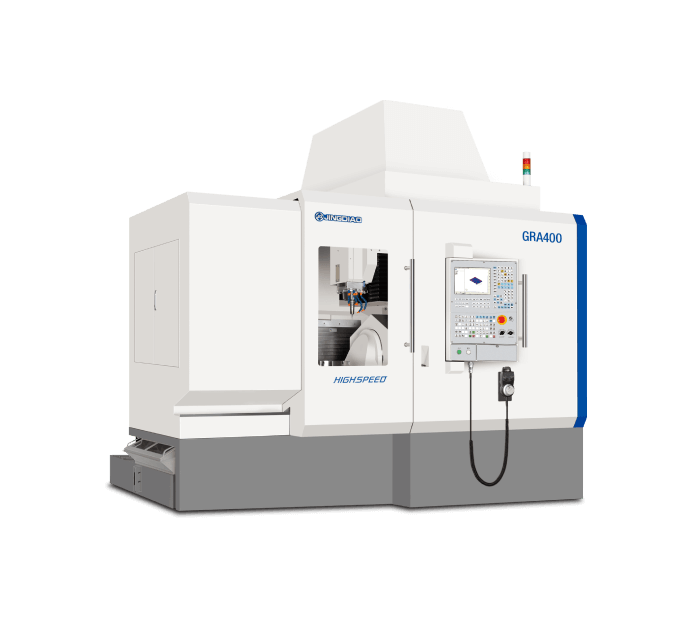
Select the Suitable Machine Based on the Shape and the Size of Parts
In order to achieve the effect of "molding without repairing" in mold parts assembly, the accuracy of each part needs to be qualified when it is finished, and high-precision equipment is the basic guarantee of this.
JINGDIAO Proven Precision Machining Solutions
Mold parts are qualified when finished requires not only a high-precision equipment, but also a proven and stable machining process.
With JINGDIAO proven precision machining solution, it can realize that “molding without repairing” when assembling 83 mold parts processed in JINDIAO high-speed machining center and 212 standard parts. The key is to digitalize the proven machining process, such as the digitization of tool parameters in mold parts processing, including tool selection, tool parameter setting and tool wear control.
This method can also be introduced to your workshop. Contact us to obtain a customized solution.


